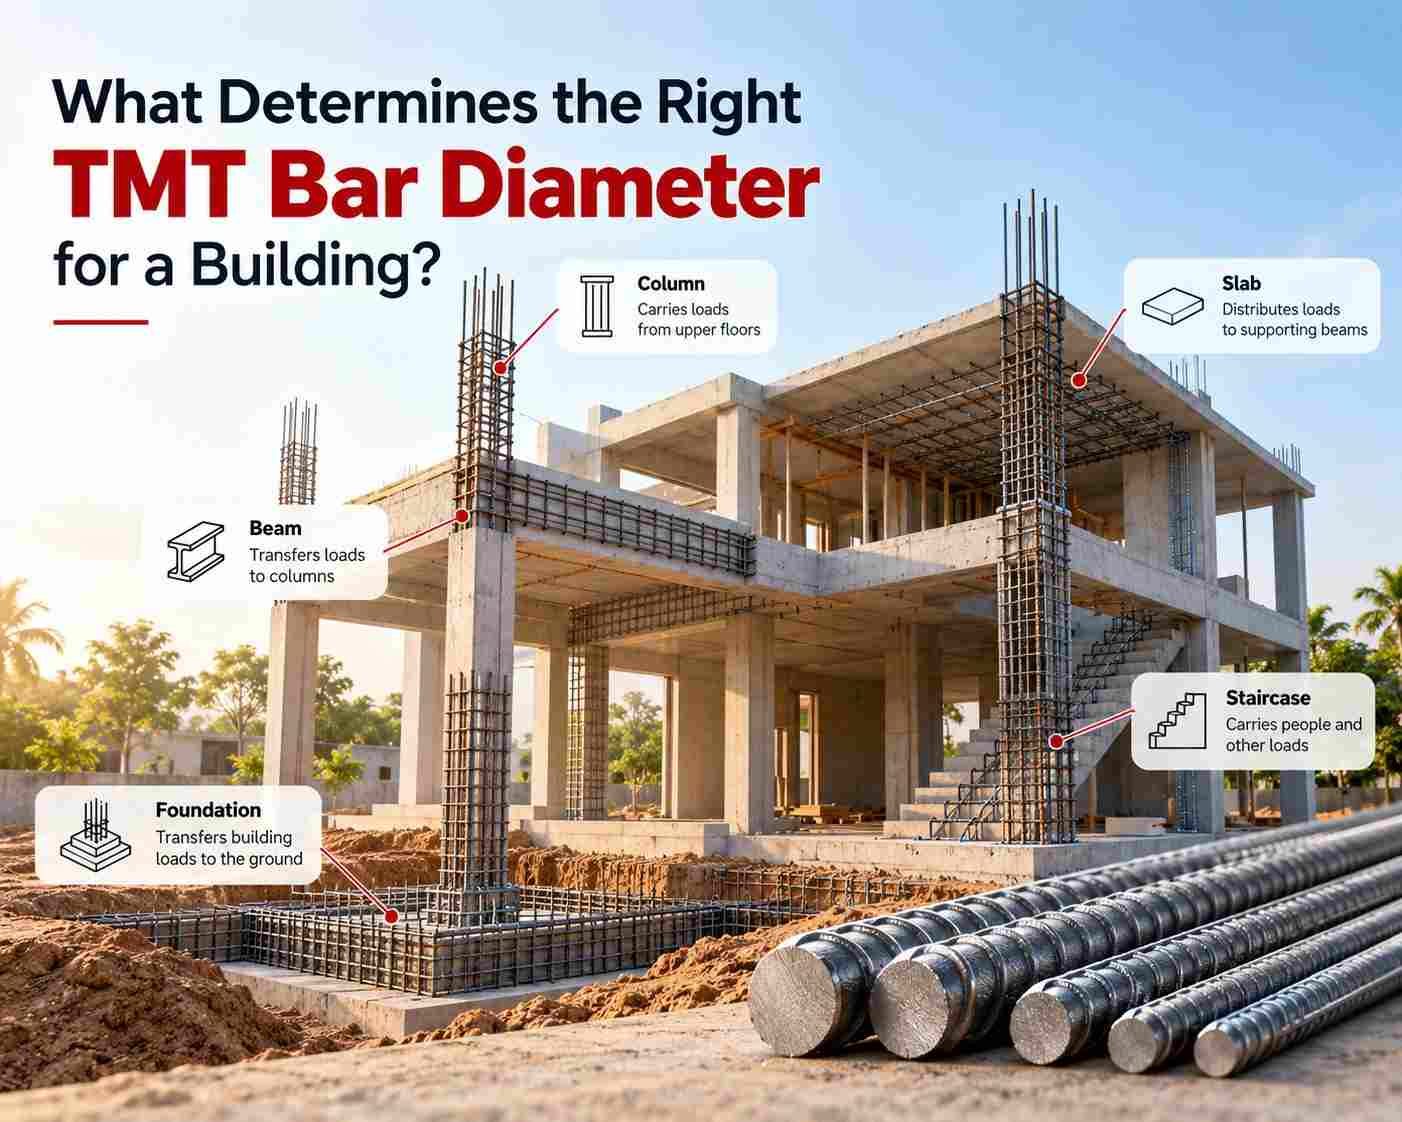
When you look at a reinforced concrete beam under construction, you may notice that the TMT bars are not all placed in one straight line. Some bars are positioned near the bottom, some near the top, and smaller bars called stirrups surround the reinforcement.
For a homeowner, this can seem unnecessary. Why not simply place all the TMT bars together?
The reason is simple: different parts of a beam experience different forces, so the reinforcement has to be positioned accordingly.
The location of each TMT bar is part of the structural design. Changing the position, diameter, number, or spacing of reinforcement without approval can affect the way the beam performs.
In this guide, we’ll discuss:
A beam transfers loads from the slab, walls, or other elements to columns or supports.
When a load acts on a typical simply supported beam, the beam tends to bend. This creates different types of stresses within the beam.
In a typical downward-loading situation:
This is why reinforcement cannot be placed randomly.
In a typical simply supported beam, the beam bends downward under load.
As it bends, the bottom region tends to stretch. Concrete is relatively weak in tension, so steel reinforcement is provided where tensile forces are expected.
This is why you often see larger TMT bars positioned toward the bottom of a beam.
These are commonly called bottom or tension reinforcement.
Their exact diameter, number, and position are determined by structural calculations.
However, this does not mean that bottom bars are always the only important reinforcement. The reinforcement arrangement changes depending on how the beam is supported and loaded.
You may also notice reinforcement near the top of the beam.
There are several reasons for this.
In continuous beams, the bending behaviour near supports is different from the behaviour at the middle of the span. The top region can experience significant tension near supports.
This is why top reinforcement is provided where required by the structural design.
Top bars can also serve other detailing and construction purposes depending on the beam arrangement.
So, it is incorrect to assume that:
“Bottom bars carry the load and top bars are not important.”
Both positions can be essential to the designed reinforcement system.
Apart from the main longitudinal TMT bars, beams usually contain closed or appropriately detailed transverse reinforcement called stirrups.
Stirrups are arranged around the main reinforcement.
Their primary structural role is to resist shear and help maintain the reinforcement arrangement.
Shear behaviour is particularly important near beam supports, where shear forces can be high.
This is why stirrup spacing may vary along the length of a beam according to the structural design.
You may see stirrups placed more closely in some regions and farther apart in others.
That difference is not accidental.
A beam does not experience the same force at every location.
Different reinforcement bars therefore have different structural purposes.
For example, a beam may contain:
The structural engineer determines the required reinforcement based on the beam’s span, loads, supports, dimensions, concrete properties, steel grade, and other design considerations.
Using the same bar size everywhere is not automatically better.
The effectiveness of reinforcement depends not only on how much steel is provided, but also where that steel is located.
Consider a beam designed with its tension reinforcement at a particular distance from the bottom surface.
If those bars are moved significantly upward during construction, their position relative to the tension zone changes.
That can reduce the effective depth of the beam and alter the structural behaviour assumed in the design.
This is why reinforcement placement is a construction-quality issue, not just a visual detail.
Although reinforcement needs to be positioned correctly, the TMT bars should not be placed directly against the shuttering.
A specified layer of concrete must remain between the reinforcement and the outer surface of the beam.
This is the concrete cover.
Cover is part of the structural detailing and durability requirements. It also helps maintain the intended position of reinforcement within the concrete member.
Cover blocks and other appropriate supports are used to maintain this distance during construction.
Also Read: Why TMT Bars Need Proper Concrete Cover: A Simple Guide for Homeowners
Reinforcement can move before or during concreting if it is not adequately supported.
Some common causes include:
Even if the correct TMT bars were originally brought to the site, their final position can change during construction.
That is why reinforcement inspection before concreting is important.
This should not be treated as a minor site adjustment.
For example, moving a specified top reinforcement bar to the bottom simply because there is more space does not create an equivalent reinforcement arrangement.
Similarly, replacing one diameter with another without checking the structural design can change the amount and distribution of reinforcement.
If a reinforcement detail appears difficult to execute, the correct approach is to consult the structural engineer rather than making an independent change at the site.
The forces acting on a beam are not uniform along its entire length.
In a simply supported beam, positive bending is generally critical around the span, while shear is often significant near the supports.
In a continuous beam, negative bending can become important over supports, which is why top reinforcement may be particularly significant in those regions.
This explains why reinforcement drawings often show different bar arrangements at different locations.
The bars are positioned according to the forces expected in that particular part of the structure.
A homeowner does not need to perform structural calculations.
However, you can make sure the reinforcement is not being changed casually at the site.
Before concreting, ask the site engineer or contractor to verify:
These checks are easier before the concrete is poured.
Also Read: Why Do TMT Bars Crack During Bending? Causes and How to Prevent It
A reinforced concrete beam is not simply a concrete block containing steel bars.
Concrete and steel work together as a structural system.
Concrete provides strong resistance to compression, while steel reinforcement provides important resistance to tension and contributes to the beam’s overall structural behaviour.
For this system to work as designed, the reinforcement needs to be placed at the correct locations and maintained there during concreting.
That is why the position of a TMT bar can be just as important as the bar itself.
If you look inside a reinforced concrete beam, the different TMT bar positions may initially appear complicated.
But there is a clear reason behind the arrangement.
Bottom reinforcement, top reinforcement, and stirrups perform different structural functions, and their locations are determined by the forces acting on the beam.
The exact reinforcement arrangement should always come from the structural drawings prepared for the project. Bar diameter, quantity, spacing, anchorage, cover, and position should not be changed simply because a different arrangement looks easier at the construction site.
For homeowners, the key point is simple: don’t judge reinforcement by how much steel you can see. Its location inside the beam is an important part of the structural design.
Using quality TMT bars is important, but they must also be correctly detailed, positioned, supported, and embedded in concrete to perform as intended.
Planning a construction project? Choose TMT reinforcement from a reliable manufacturer and make sure the reinforcement arrangement is checked by the responsible structural professional before concreting.